FDM Printing
Fused Deposition Modelling
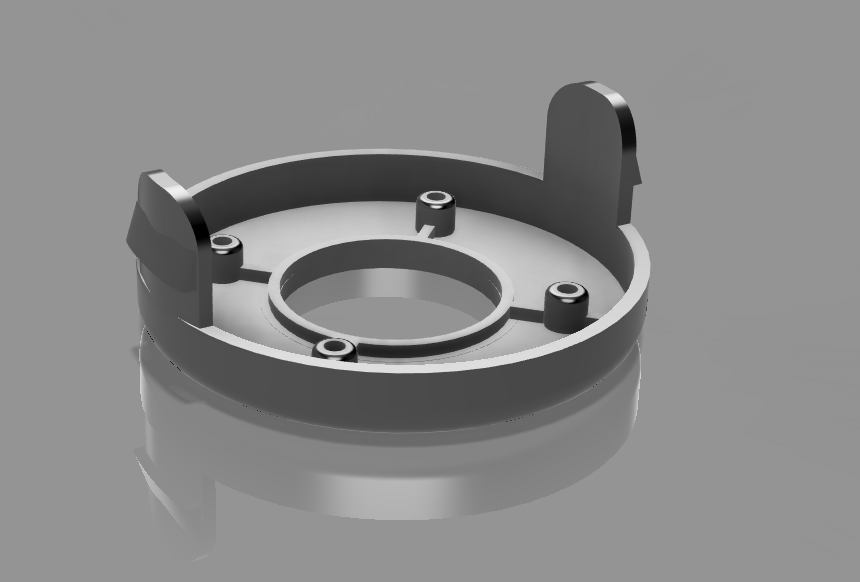
Ideal for functional prototypes, jigs, fixtures, and end-use parts. Wide material range including ABS, ASA, Nylon, and carbon-fibre composites.
View FDM printingQuality Business Awards 2024 winner
Southampton 3D printing, prototyping, reverse engineering, emergency manufacturing and instant quotes for functional industrial parts, production-grade prototypes and low-volume additive manufacturing.
From single prototypes to low-volume production runs — we deliver functional, production-grade parts with no minimum order quantities and no tooling costs.
Fused Deposition Modelling
Ideal for functional prototypes, jigs, fixtures, and end-use parts. Wide material range including ABS, ASA, Nylon, and carbon-fibre composites.
View FDM printingStereolithography
Ultra-high resolution resin printing for intricate geometries, smooth surface finishes, and parts requiring tight tolerances.
View SLA printingMulti Jet Fusion & Selective Laser Sintering
Production-grade powder-bed technology for complex geometries, high mechanical strength, and batch manufacturing without tooling.
View MJF and SLS printingFrom Physical to Digital
We scan, measure, and recreate obsolete or discontinued components — converting physical parts into production-ready CAD files.
View reverse engineeringConcept to Component
Rapid iteration from sketch, photo, or CAD file. Test form, fit, and function before committing to production tooling.
View prototypingDesign for Additive
Our engineering team reviews your CAD before printing — optimising geometry, wall thickness, and orientation for best results.
View CAD supportA streamlined workflow designed to get your parts manufactured quickly, without complexity or hidden costs.
Submit your STL, STEP, IGES, DXF or reference image through the quote page. No minimum order is required.
We check geometry, material suitability, orientation, tolerances and production risk before recommending the right route.
Your parts are produced, finished where required, inspected, and prepared for delivery or collection.

3D printing for manufacturing is most valuable when the part is awkward, urgent, low-volume, or no longer available through a conventional supplier. It removes tooling delay and helps engineers move from CAD, sketch, or failed component to a usable physical part quickly.
Mitchell & Son is deliberately strongest in specialist work rather than commodity mass production: heritage automotive restoration, defence-grade polymer components, marine repairs, jigs, fixtures, brackets, housings, and practical replacements where engineering judgement matters.
For very high volumes, injection moulding or large automated print bureaus may be the right route. Our advantage is personal, engineering-led problem solving around materials, tolerances, fit, and end-use conditions that automated quoting systems often miss.
As an industrial additive manufacturing UK partner, we focus on engineering 3D printing and low volume manufacturing for real functional parts, not hobby kits or generic marketplace fulfilment.
Every order is assessed around use: load, heat, moisture, wear, surface finish, tolerance and quantity. That keeps the recommendation specific to the job instead of relying on generic 3D printing claims.
Automotive, defence, marine, architecture, product design, and maintenance teams use us when they need a part that solves a defined problem, not just a print from a file.
This focused model keeps us away from low-margin commodity fulfilment and towards projects where careful material selection, CAD review, and clear advice make the difference between a useful component and a failed print.
Use our instant quote platform to upload an STL file or CAD model and get an online 3D printing quote for low volume manufacturing. This is the fastest way to compare costs for production additive manufacturing, engineering prototypes, and custom plastic components.
Whether you need an instant additive manufacturing quote, upload STEP file quote, or instant pricing for functional 3D printed parts, we make it simple to move from CAD to manufacture.

Automotive engineering demands speed, precision, and flexibility. 3D printing helps manufacturers, restorers, and engineering teams move from concept to finished part quickly without expensive tooling or long lead times. From rapid prototyping and functional testing to reverse engineering obsolete components and producing low-volume production parts, additive manufacturing offers a practical solution for modern automotive challenges. Whether supporting motorsport, heritage vehicle restoration, electric vehicle development, or specialist engineering projects, we provide engineering-led 3D printing solutions designed to improve performance, reduce costs, and accelerate development.

Defence manufacturing demands reliability, precision, and rapid response in challenging environments. 3D printing enables the production of lightweight, high-performance components, complex geometries, and bespoke parts that are often difficult or costly to manufacture using traditional methods. By reducing weight without sacrificing strength, improving design flexibility, and supporting low-volume production, additive manufacturing provides significant operational advantages. It also improves supply chain resilience by allowing critical components to be produced on demand and closer to the point of use. For defence applications where performance, speed, adaptability, and availability are essential, 3D printing has become a valuable strategic manufacturing capability. [Read More]

3D printing has become an essential tool within modern architectural workflows, bridging the gap between concept and construction with a level of clarity that traditional methods struggle to achieve.

In the marine sector, reliability is critical. Saltwater environments, constant exposure to moisture, and mechanical stress place extreme demands on every component. 3D printing provides a practical solution for producing corrosion-resistant parts, bespoke fittings, and rapid replacements without the delays associated with traditional manufacturing.

3D printing brings practical value into the domestic space by solving problems that traditional retail often cannot address. In many homes, the challenge is not buying a product, it is finding the right product.

Custom brackets, housings, and replacement components for lift systems demand precision and adaptability, especially when dealing with confined spaces, legacy infrastructure, or discontinued parts.

In the heritage vehicle sector, maintaining authenticity while ensuring functionality is a constant challenge. Many classic, vintage, and historic vehicles rely on components that are no longer manufactured.

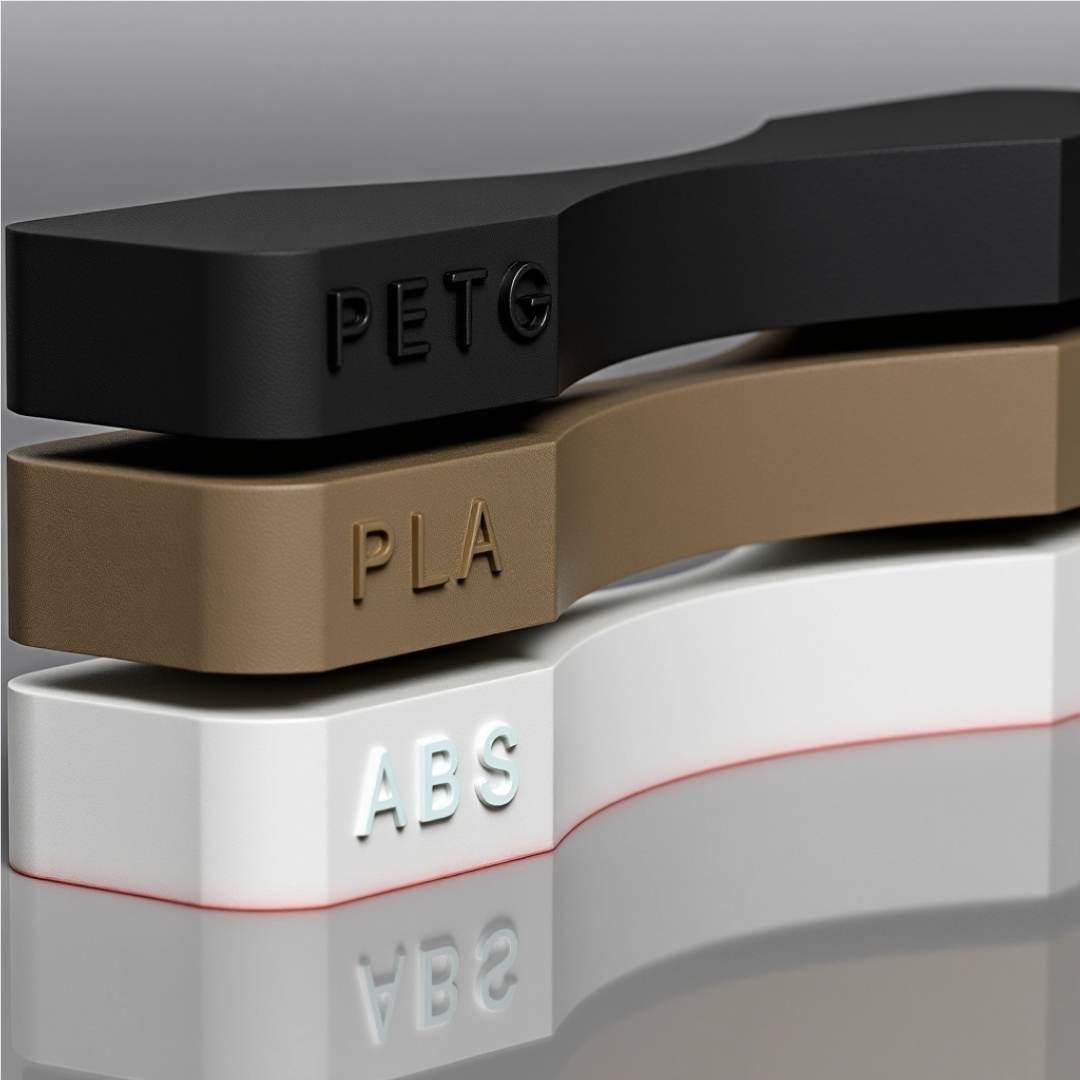
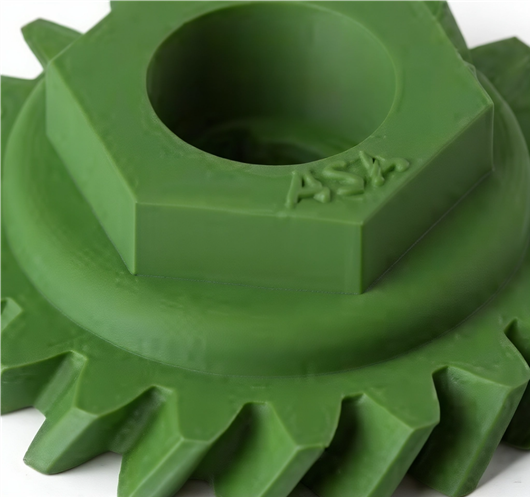
Material choice is where many 3D printed parts succeed or fail. We select polymers around service conditions such as load, heat, UV exposure, moisture, wear, chemical contact, flexibility, and surface finish.
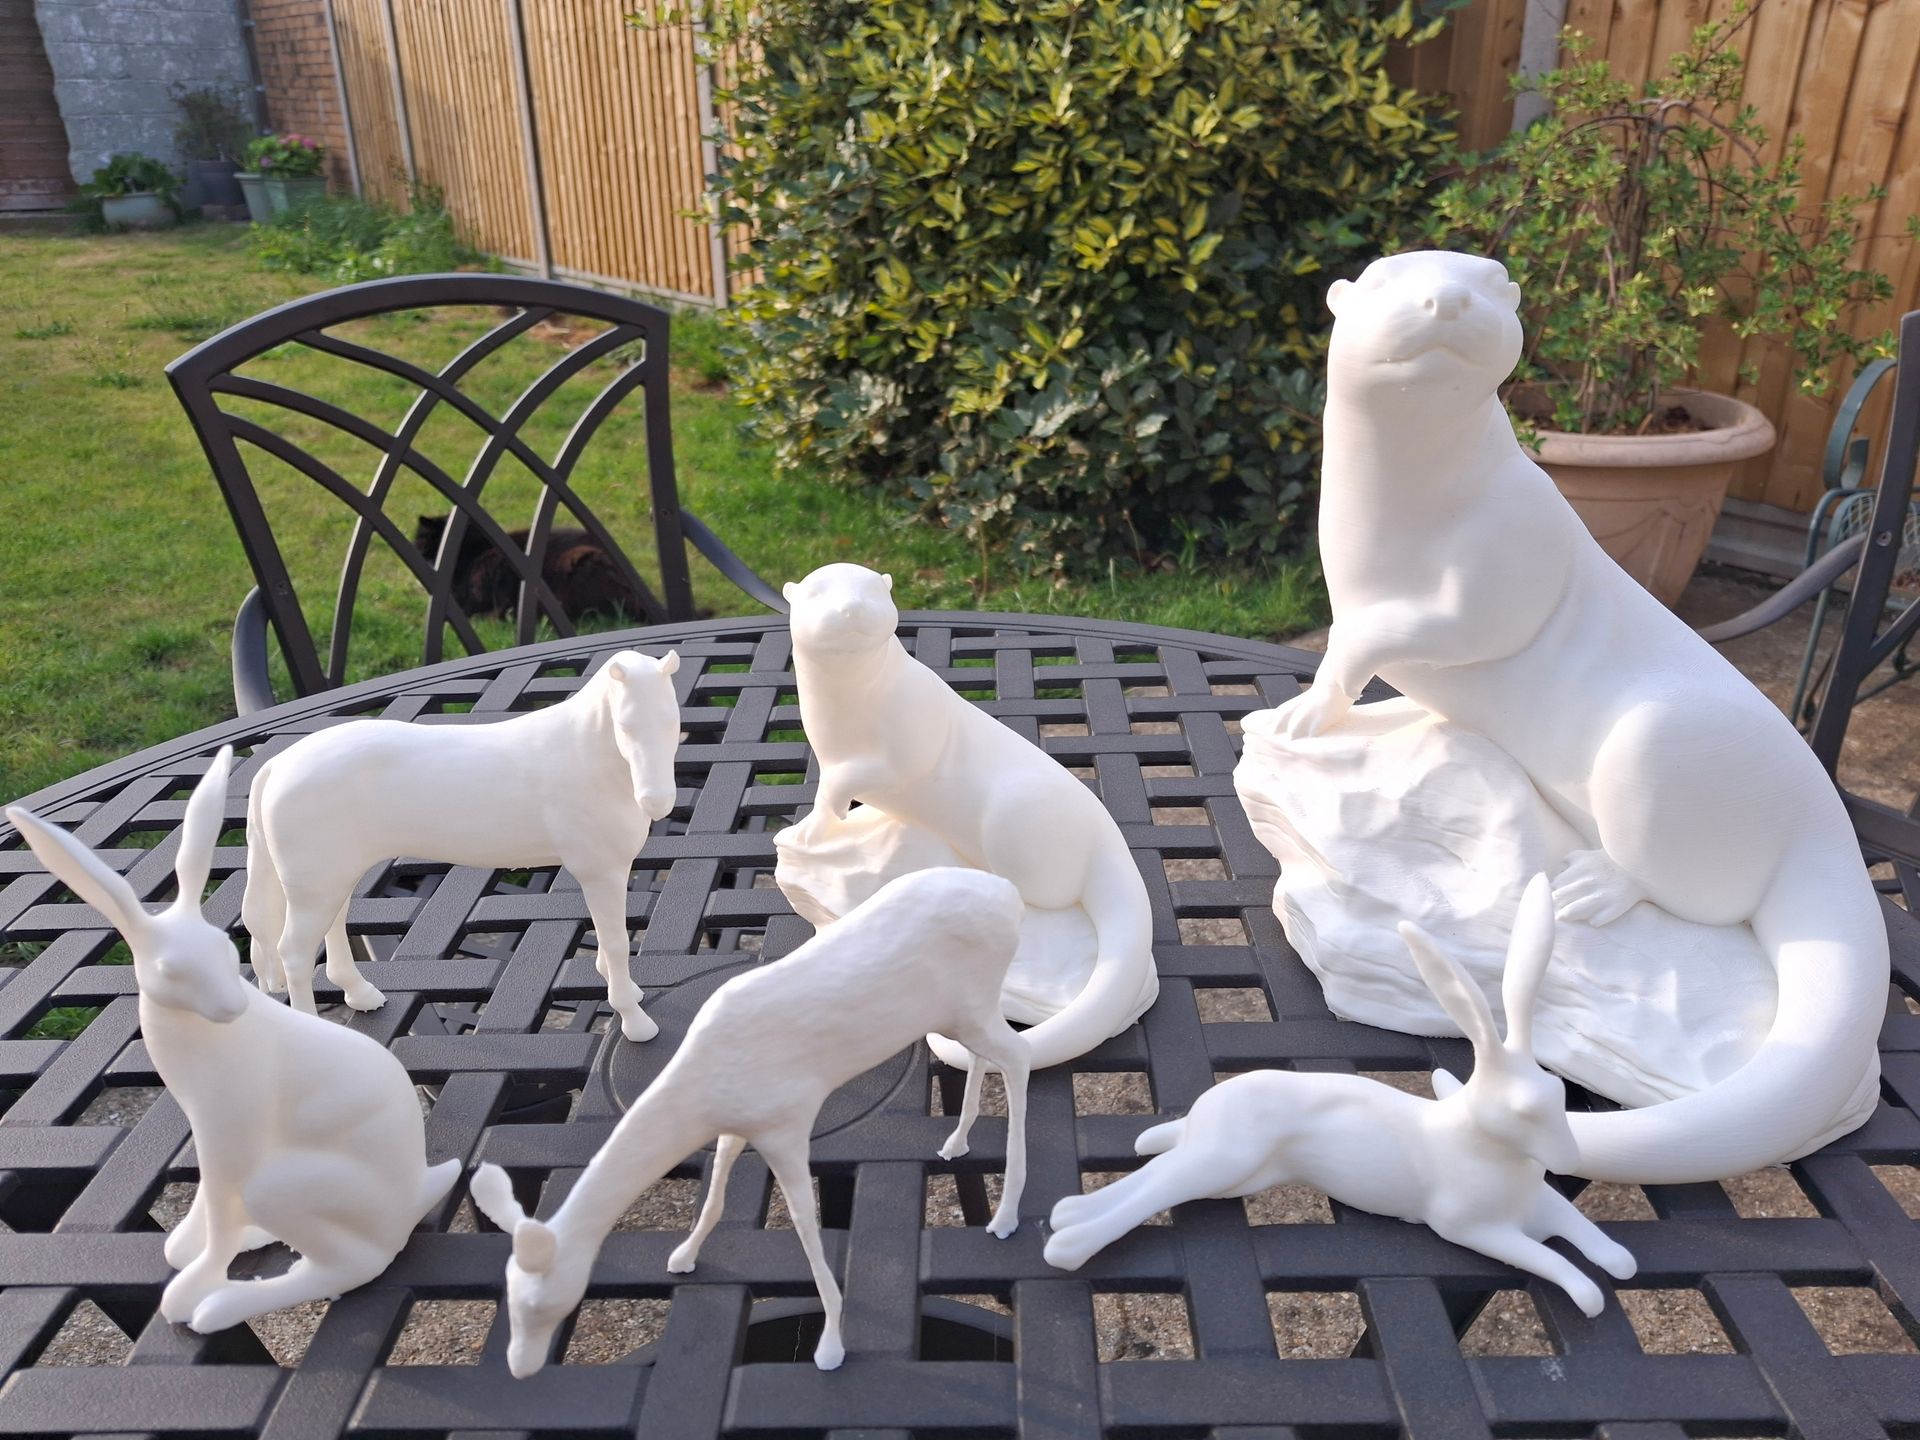
The goal is practical reliability. Emergency replacements need to restore function quickly; production parts need repeatability and lifespan; visual models need clean detail without paying for unnecessary engineering-grade material.

The cost of 3D printing is not a fixed price. It is a calculation.
It depends on several key factors:
Unlike traditional manufacturing, there are no tooling costs, but that does not mean every part is cheap.
For small batches, prototypes, and complex geometries, 3D printing is often more cost-effective than machining or injection moulding. For high-volume production, traditional methods may still be more economical.
What matters is understanding where it fits. If you are producing one-off parts, custom components, or low-volume runs, 3D printing reduces upfront investment and speeds up delivery.
It is not about price alone. It is about total cost of production, time, and flexibility.
For procurement teams, predictability matters. Once a part has been proven in service, repeat orders can be produced consistently, with known material, finish, and tolerance expectations.
This is particularly useful where legacy equipment is still operational but no longer supported by the original manufacturer. It allows businesses across Hampshire and the South Coast to extend asset life without redesigning an entire system.
Based in Southampton, Mitchell & Son supports businesses throughout the Solent region that need fast, sensible manufacturing solutions. Injection moulding has its place, but the upfront costs often run into thousands before a single part is produced.
For low-volume, emergency, or discontinued components, additive manufacturing is often the only commercially sensible option. We also offer post-processing where required, including sanding, surface finishing, and reinforcement, to improve durability or appearance when needed.
These services are optional and applied only where they add real value. The objective is always the same: produce a part that works properly, fits correctly, and does its job without becoming the next problem.
Everything we do is driven by real-world use. If a part is ornamental, it can be produced cheaply and quickly. If a part is handled daily, subjected to force, or critical to safety, it is built accordingly.
We do not oversell materials or processes that are unnecessary, and we do not underspec parts that will fail prematurely. This approach has allowed us to support manufacturers, engineers, restorers, and maintenance teams across Southampton and Hampshire with solutions that make practical and financial sense.
When something breaks, the priority is getting it working again reliably, not experimenting with technology for its own sake.
If you are dealing with a breakdown, an obsolete component, or a supply issue that cannot wait, 3D printing provides a fast and flexible solution. By combining practical experience, CAD capability, and material knowledge, we are able to produce functional parts without the cost and delay of traditional manufacturing methods.
The goal is not just to print a part, but to solve the problem that caused the failure in the first place.
Mitchell & Son Additive Manufacturing focuses on specialist engineering problems: obsolete components, heritage vehicle restoration, defence and marine polymer parts, low-volume production, rapid prototyping, and custom functional parts that need to work in the real world.
Every job is considered through material choice, geometry, tolerance, finish, and end-use conditions. Where partner capacity or specialist processes are useful, we keep ownership of the brief, quality expectations, and customer communication.
Real feedback from satisfied clients
Very helpful guys, patient too... Highly recommend!
I needed small brackets for SieMatic kitchen units... Excellent standard.
Four dust caps for a 1950s Riley... Perfect, spot on.
Beautifully made part, easy to deal with.
Near absolute duplicate of original fastener... couldn't ask for more.
Quick and efficient, great quality.
Amazing level of service — fast response.
Excellent PPE mask production during need — sturdy and fast delivery.
We work across automotive, aerospace, marine, medical, defence, heritage restoration and industrial manufacturing. The focus is on functional, low-volume, production-grade parts.
Yes. We specialise in low-volume manufacturing and can provide quotations for small batches, prototypes and replacement components without tooling.
We offer engineering plastics like ABS, ASA, PETG, nylon variants, carbon-fibre composites, TPU and resin systems depending on the application.
Yes. Use our quote page to upload your model and receive a fast estimate for 3D printing, with engineering review where needed.
We can. We recommend materials such as ASA or PETG for outdoor exposure and will advise based on the part’s environment.
Yes. We support prototype development, functional testing, and direct low-volume production of finished parts.
Yes. We perform a technical review to check manufacturability, suggest improvements, and ensure the part prints reliably.
Turnaround depends on material, quantity and post-processing. Many jobs are completed within a few days when the design is ready and materials are available.
Yes. We recreate legacy components from drawings, samples or photos, then manufacture replacement parts that fit and function reliably.
Absolutely. This is an industrial additive manufacturing service for real engineering use, not a hobbyist 3D print shop.